
Gift-giving is an art, and the way you present your gift can say as much as the gift itself. Nowadays, the trend of personalizing gift presentations has taken a creative turn, with more people looking to add that extra touch of flair and elegance.
One simple yet effective way to elevate your gift-giving is by mastering the art of placing tissue paper in a gift bag. This seemingly small detail can transform your gift from ordinary to extraordinary.
In this comprehensive guide, we’ll explore the nuances of this skill, ensuring your gifts stand out on any occasion.
Guide to Perform a Task
To put paper in a gift bag, follow these expert tips:
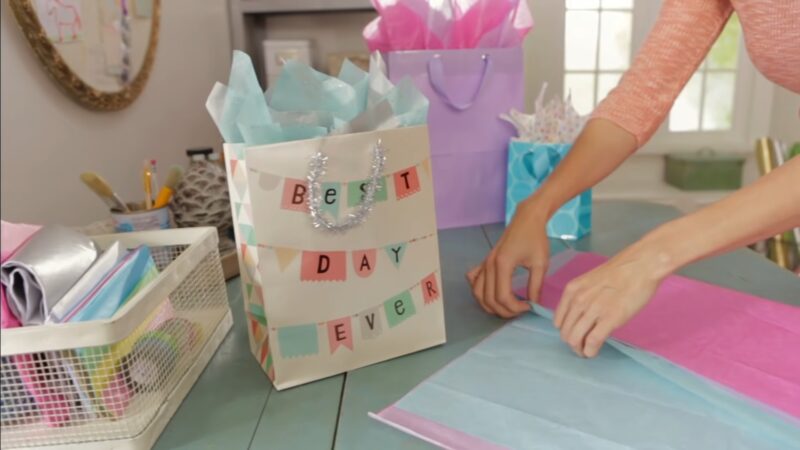
- Open each sheet fully. This will give your gift bag a more voluminous and luxurious look.
- Line the inside of the bag with a few sheets. Make sure the tops of the tissue paper are sticking out a bit. This will create a soft and inviting nest for your gift.
- Place your gift in the center of the bag. Make sure the gift is surrounded by tissue paper on all sides.
- Loosely bunch two more sheets together. Tuck this bunch into the top of the bag so it covers the gift.
- Add a bow to the bag or tie the handles together with a piece of ribbon. This will add a finishing touch to your gift presentation.
Technique of Layering and Arranging
Layering and arranging tissue paper is crucial in creating an appealing presentation. Here’s how to do it like a pro:
- Start with a Base Layer: Place two to three sheets of paper as the base layer. This acts as a cushion for your gift and provides a backdrop for additional layers.
- Add Dimension: Crumple a sheet of paper lightly and place it on top of the base layer. This adds volume and dimension.
- The Final Touch: Arrange the final layer of paper in a way that gracefully peeks out of the bag. This layer should be neatly folded and not crumpled.
Remember, the key to a beautiful gift presentation lies in the details. By following these expert tips, you can turn a simple gift bag into a work of art that is sure to impress.
Stay tuned for more insights on personalizing your gift presentations in the next sections.
The Art of Choosing
The choice of tissue paper can make a significant difference in your gift presentation. Here are some tips to help you select the perfect tissue paper:
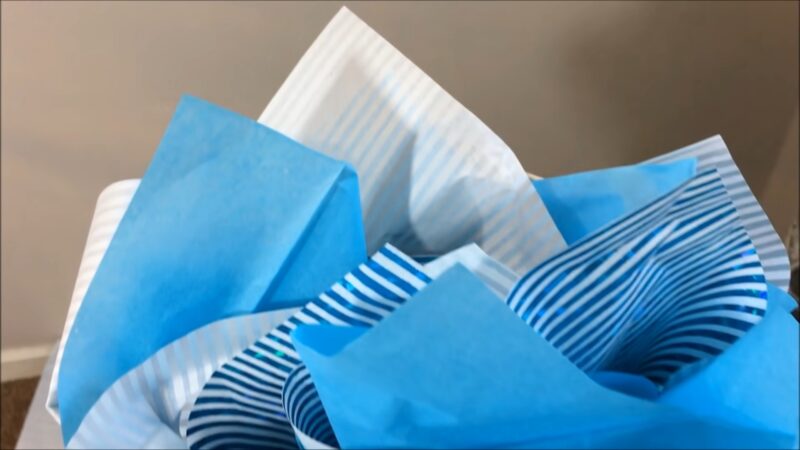
- Color Coordination: Choose a color that complements your gift bag. For a more sophisticated look, stick to a monochromatic scheme. For a fun, festive feel, go for contrasting colors.
- Quality Matters: Opt for high-quality tissue paper. Thicker, more durable tissue paper not only looks more luxurious but also holds its shape better.
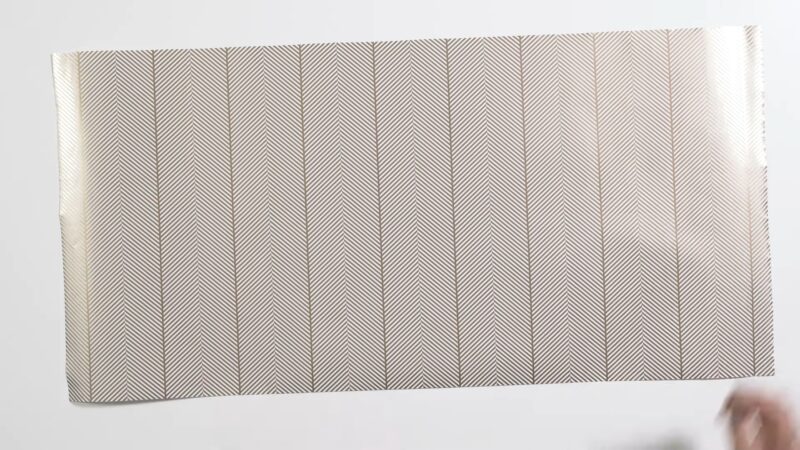
- Patterns and Textures: Don’t shy away from patterned or textured tissue paper. These can add an extra layer of intrigue and personality to your gift.
A Guide to Creative Gifting
Gift-giving is not just about the item inside; it’s also about the presentation. Personalizing your gift bag with tissue paper is a creative way to add a special touch that shows thoughtfulness and care.
Let’s explore some innovative techniques to elevate your gift presentation.
Color Coding
Color coding is a simple yet effective way to tailor your gift presentation to the occasion or the type of gift. Here are some ideas:
- Occasion-Based Colors: For Christmas, opt for red and green tissue paper. For a baby shower, pink and white can add a soft, celebratory touch.
- Gift Type Indicators: Use gold tissue paper for luxury items or silver for tech gadgets, subtly hinting at the nature of the gift inside.
Embossing
Embossing tissue paper with the recipient’s name, initials, or a special message can add a unique and elegant touch. Here’s how to do it:
- Gather Your Materials: You’ll need an embosser and embossing powder.
- Embossing Process: Place the tissue paper in the embosser and press down. The embossing powder will adhere to the paper, creating a beautiful raised design.
Stamping
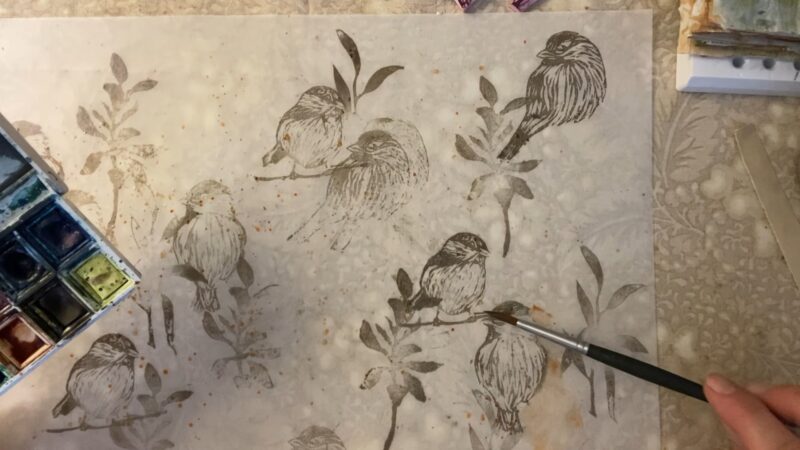
Stamping is a playful way to customize your tissue paper. You can use various stamps to create a design that resonates with the recipient. Here’s what to do:
- Choose Your Stamp: Select from rubber, ink, or food stamps.
- Stamping Technique: Press the stamp onto the tissue paper firmly. If using ink, allow it to dry completely before proceeding.
Die-Cutting
Die-cutting allows for intricate shapes and designs, offering a more advanced personalization option. To die-cut tissue paper:
- Prepare Your Die-Cutting Machine: Set up your machine with the desired dies.
- Cutting Process: Place the tissue paper in the machine and crank the handle to cut it into your chosen shape or design.
3D Elements
For an impressive presentation, add 3D elements like flowers, ribbons, or small figurines. Arrange these elements on the tissue paper before placing the gift in the bag, securing any loose items with tape or glue.
Tips for Wrapping Delicate Gifts in a Gift Bag
When wrapping delicate items, extra care is needed:
- Choose a Sturdy Bag: Opt for a durable material like thick paper or cardboard.
- Protective Layering: Wrap the gift in bubble wrap or packing paper for added protection.
- Fill Empty Spaces: Use tissue paper to prevent the gift from moving inside the bag.
- Secure the Gift: Use tape, glue, or a ribbon to keep the gift firmly in place within the bag.
Frequently Asked Questions
Can I reuse paper for gift presentations?
Absolutely! Gently smoothing out and folding used tissue paper can make it ready for reuse. It’s an eco-friendly and cost-effective approach. Just ensure it’s clean and free from tears for a neat presentation.
How can I prevent from tearing when placing heavier gifts?
To prevent tearing, use multiple layers of tissue paper or opt for thicker, high-quality tissue paper. Placing a piece of cardboard at the bottom of the bag can also provide additional support.
Is it possible to print on for a more personalized touch?
Yes, you can print on tissue paper using a standard inkjet or laser printer. However, due to its delicate nature, it’s advisable to attach the tissue paper to a regular sheet of paper with double-sided tape to feed it through the printer smoothly.
How do I choose the right size of paper for different gift bags?
The size of the tissue paper should be proportional to your gift bag. For small bags, sheets around 15″x 20″ are suitable, while larger bags may require sheets around 20″x 30″. It’s always better to have a larger size as you can trim it down if needed.
Can I incorporate lights into the presentation for a more dramatic effect?
Yes, adding small LED lights within the tissue paper can create a stunning effect, especially for evening events. Ensure the lights are lightweight and battery-operated, and place them strategically so they illuminate the gift without being too overwhelming.
How can I make my gift bag more sustainable?
To make your gift presentation more sustainable, opt for recycled or FSC-certified tissue paper. You can also encourage the recipient to reuse the paper and bag. Additionally, using natural elements like twigs or dried flowers instead of plastic decorations can add a beautiful, eco-friendly touch.
Final Words
As we wrap up this comprehensive guide, it’s clear that the art of gift-giving transcends beyond just the item itself; it’s about creating an experience. The way you present your gift, especially with the thoughtful placement of tissue paper, can significantly amplify the joy of giving, receiving, and thanking.
In today’s world, where personalization and attention to detail are highly valued, mastering the simple yet impactful technique of arranging tissue paper in a gift bag can set your gifts apart. Whether it’s through color coordination, embossing, stamping, die-cutting, or adding 3D elements, each step offers an opportunity to infuse personality and elegance into your gift presentation.